
Google Business Profile guide
Google Business Profile Service Areas: When to Hide Your Address
Set up a Google Business Profile for a business that visits customers. Learn when to hide your address, choose service areas and check what customers see.
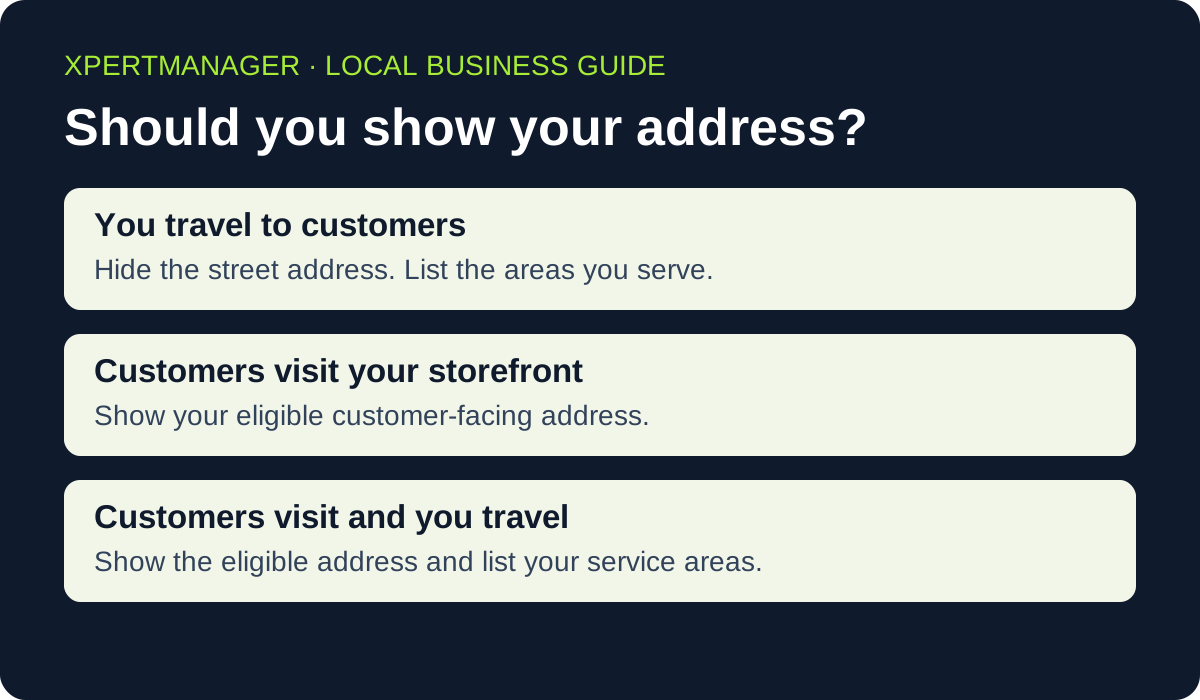
Quick answer
If your business visits customers and does not receive them at its base, hide the street address and list the areas you actually serve. If customers can visit an eligible staffed location and you also travel to them, you can display both the address and a service area.
A simple way to approach it
- 01
Decide whether customers visit your location, you visit them, or both.
- 02
Check who manages the existing profile before editing.
- 03
Update the address visibility and service area in the Location section.
- 04
Review the public listing and test the website’s booking or quote path.
Choose the setup that matches how you work
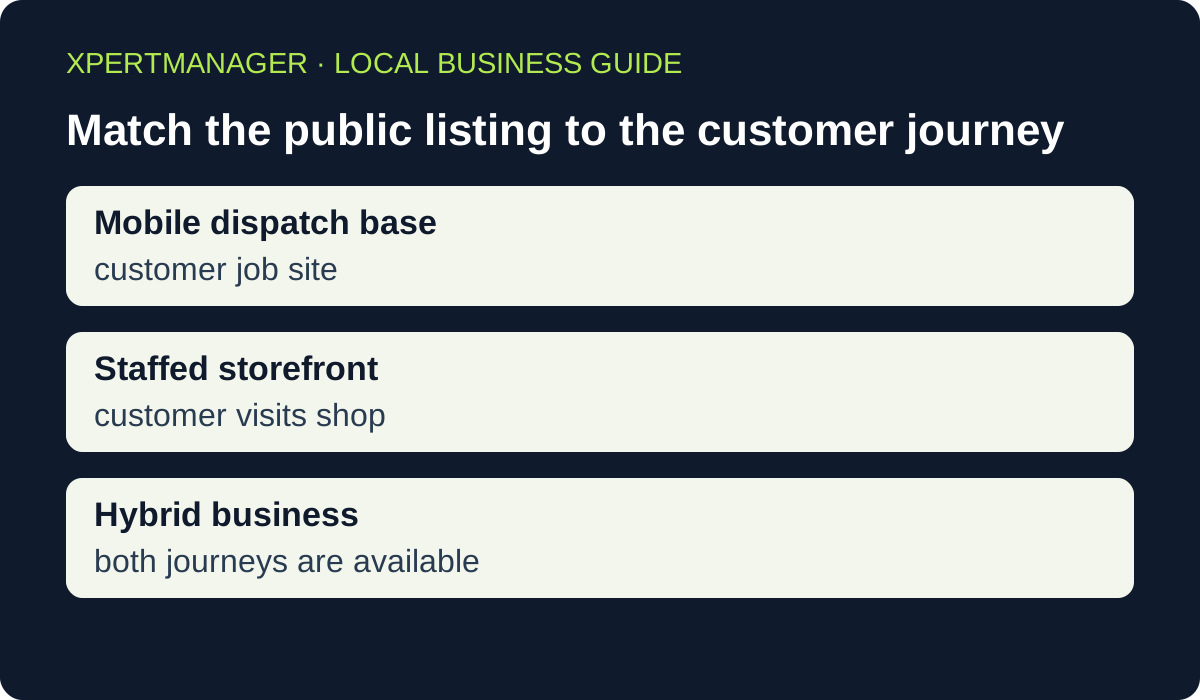
A plumber who dispatches from home and works at customers’ properties uses a service-area profile. A repair shop that also sends technicians to customers can use a hybrid setup if its shop meets Google’s location requirements. A storefront that serves customers only on site can display its address without adding a service area.
Before showing an address, check that customers can actually visit during the stated hours and that the business has permanent signage. An office used for paperwork or a rented mailing address does not serve the same purpose as a customer-facing location.
Change the existing profile
Open the Business Profile with the account that manages it. Choose Edit profile, then Location. Under Business location, edit the visibility setting and turn off Show business address to customers if you operate as a service-area business. Save the change. Under Service area, edit the list and save it separately.
If a manager already controls the profile, coordinate the change with them. Keep a dated record of the public listing and the settings you intend to change so you can check the result after review. Follow any verification prompts Google shows for the existing profile.
Use your dispatch records to choose areas
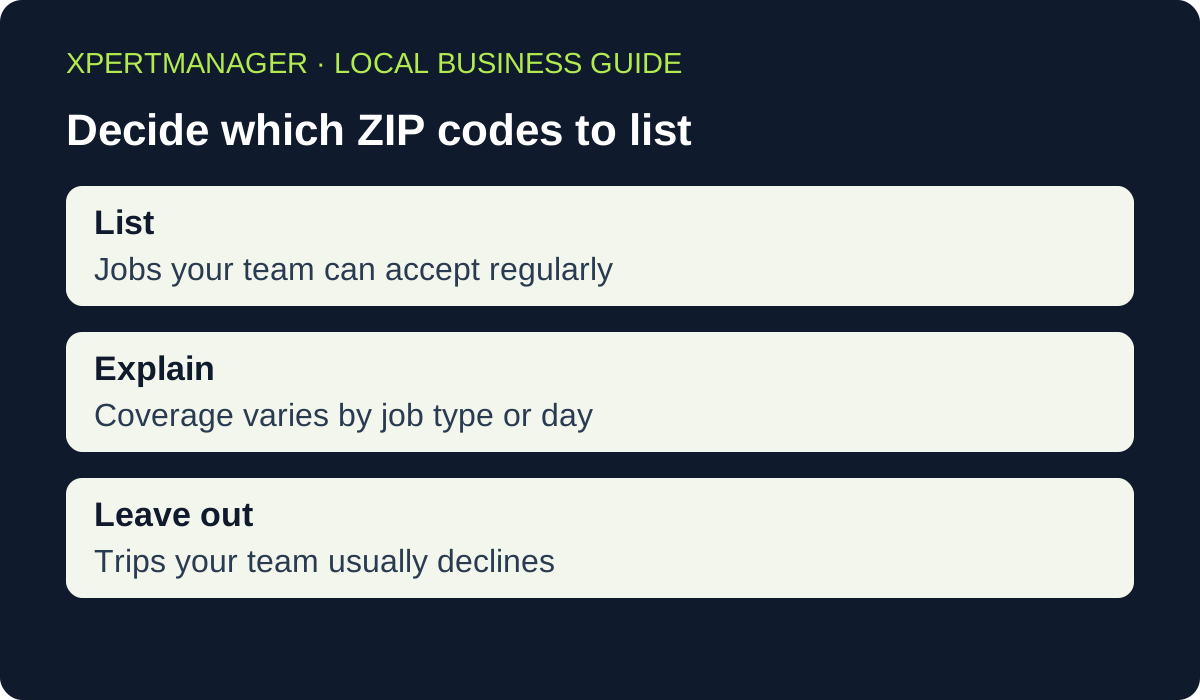
Start with the cities and ZIP codes where you can reliably accept jobs. Google supports up to 20 areas and uses named places or postal codes in place of a radius. Its general guidance is to keep the overall area within about two hours’ drive of your base.
For example, imagine a Columbus-area mobile appliance repair company that serves Columbus and two nearby suburbs on weekdays. Its dispatcher can review which ZIP codes are consistently bookable and identify any exceptions. If some locations are served only for certain repairs, explain those limits on the booking page before asking customers to submit their details.
Check whether people can actually visit
Start with what a first-time customer would experience. If they arrive during the hours on your listing, can they find the entrance and speak to someone who can serve them? Ask the person who handles bookings to confirm this. A workshop that only stores vans and supplies functions differently from a shop with a staffed counter, even if the two buildings look similar from the street.
Write a one-line description for your team: “We serve customers at their address,” “We serve them at our shop,” or “We offer both.” Then compare that sentence with the booking page and the directions shown on your profile. If the business operates by appointment, describe the actual arrangement to customers and check the location against Google's eligibility guidance before displaying it.
Plan the edit before you change the profile
Record the public business name, the profile link, who can approve changes, and the locations you intend to show. Keep this record in a private team document. If a home address appears in the before screenshot, redact it before sharing the screenshot. Ask whoever answers calls to flag recent questions about directions or service coverage. Those questions will help you check whether the update actually makes the listing clearer.
Handle a move, a change in customer access, and an expansion of coverage as separate decisions. A business that moved its dispatch base should first establish which existing profile it owns and which details actually changed. If Google asks for verification, follow the instructions shown to the profile manager and note the date. Avoid creating a second profile just because an edit is pending.
Build a service area from jobs you can fulfill
Export a short list of recent jobs by ZIP code or ask your dispatcher to tally them. For each area, write down which services your team can provide, which days they can travel there, and whether the trip regularly leaves enough time for the work. Use the location of the job for this exercise. A billing address can sit outside the area where the work actually takes place.
Treat a long drive at rush hour differently from a short trip on a weekend morning. A county may contain both places you reach routinely and places you decline because the drive would disrupt the rest of the schedule. Start with your reliable coverage. If a ZIP code is only workable for certain jobs, make that limitation clear when customers request service. Review exceptions with your dispatcher before advertising that ZIP code across the site.
Worked example: a mobile plumber and a hybrid repair shop
Imagine a plumber based outside Columbus who takes routine jobs in three nearby communities. The crew can handle emergency calls in the closest area, and accepts larger booked jobs farther away. The owner hides the dispatch address, lists the communities the business reliably serves, and tells callers which locations qualify for emergency dispatch. The website asks for a ZIP code and describes the response window separately for urgent and scheduled jobs.
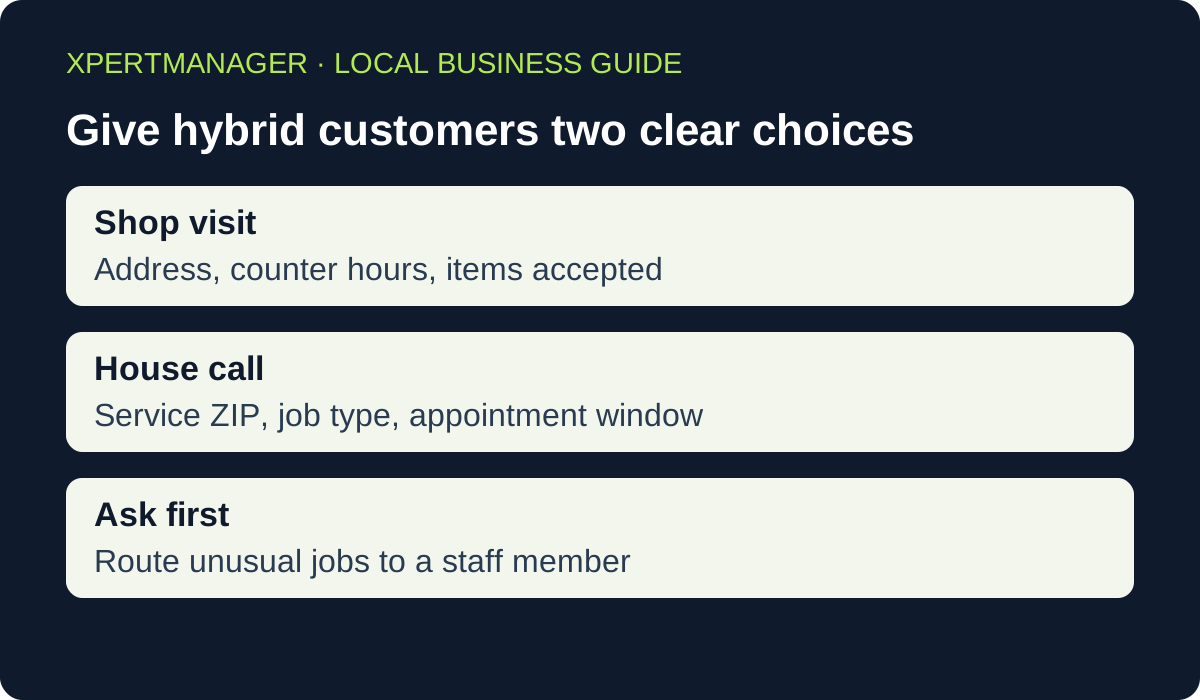
Now imagine an appliance repair shop with a staffed counter and a technician who makes house calls. Customers can drop off eligible equipment at the counter. The shop checks its address eligibility, shows where visitors can go, and lists the communities its technician covers. Its website gives visitors two paths, “Bring an item to the shop” and “Request an in-home appointment.” Each path states the hours and the next step. This helps a customer avoid choosing an in-home slot for an item the shop only services on site.
Review the public listing and the quote journey
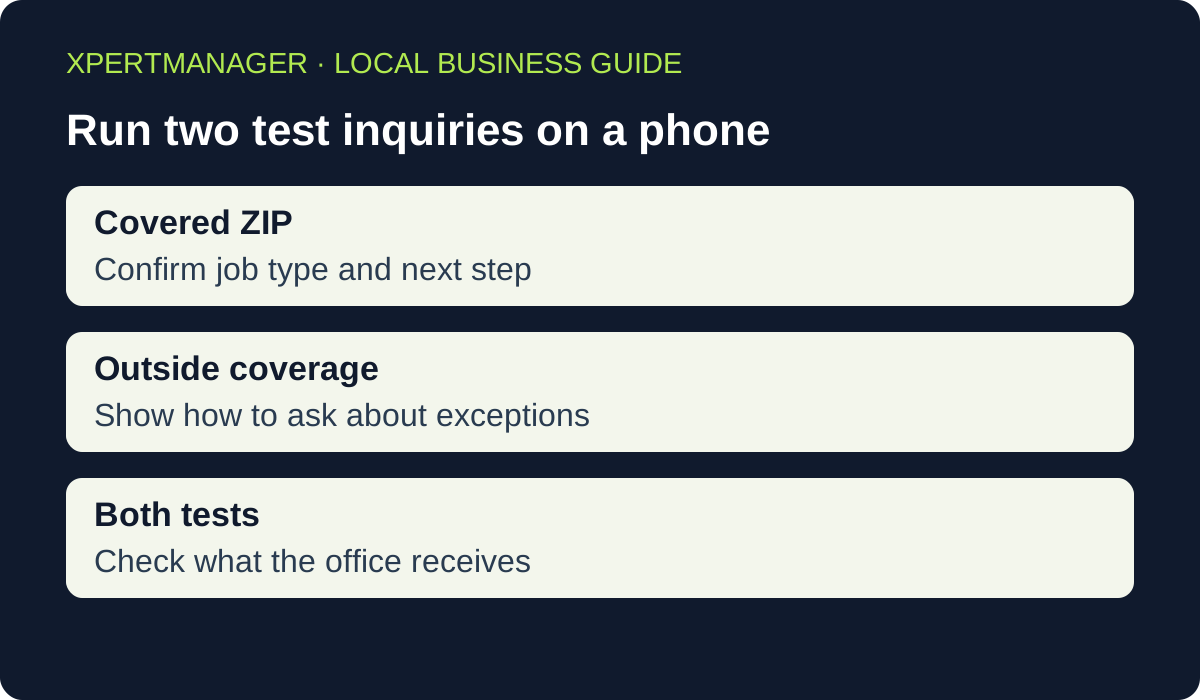
After the update appears, search for the exact business name and city and make sure you have the intended listing. On a phone, follow the website link and attempt a test inquiry with a ZIP code you serve. Then try a ZIP code you typically decline. Check what the customer sees and what your team receives. You can do this with an internal test inquiry labeled clearly so the team recognizes it.
Look for addresses embedded in older pages, contact buttons that open directions to the dispatch base, and booking messages that still ask people to visit. A customer who starts with the listing can land on a service page, a contact page, or a third-party scheduling screen. Check each route the business actually offers. If your booking tool cannot check a ZIP code, explain the coverage before the customer picks a time and tell them how you will confirm it.
Track whether the change helps customers
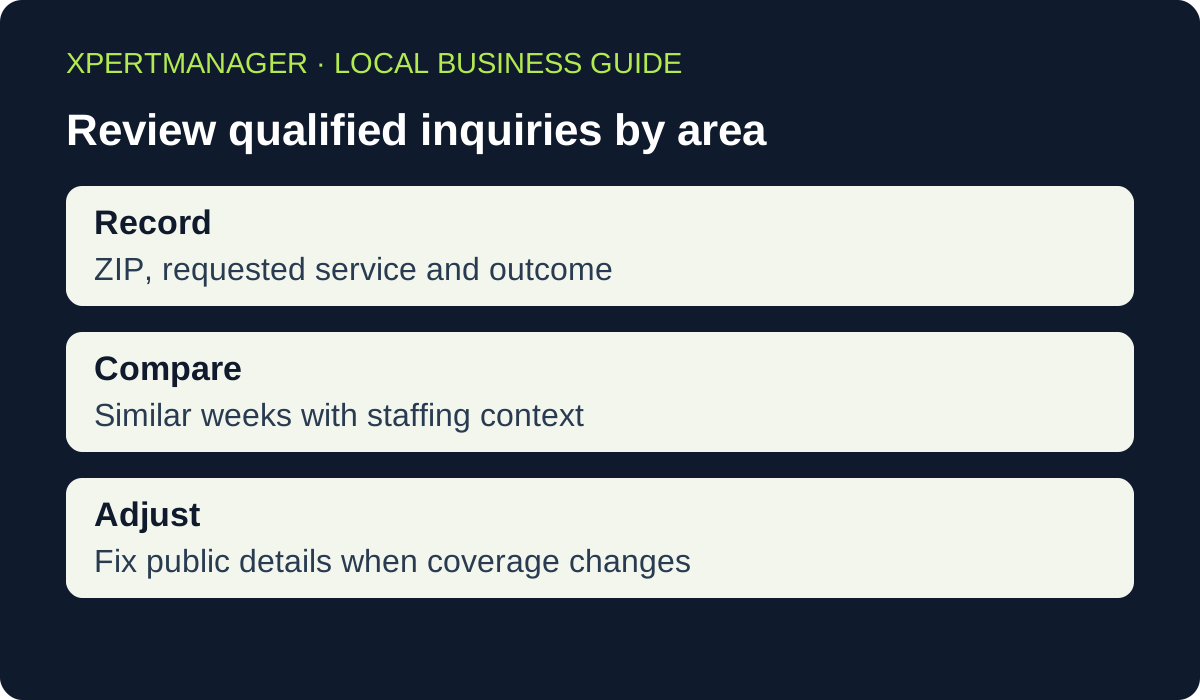
Give the office a short list of reasons to record when an inquiry cannot be accepted: outside the area, service unavailable, schedule full, or another reason. Look at those reasons alongside the call count. Fewer wrong-area inquiries can save time even if total inquiries barely change. Compare similar weeks and note changes in advertising, staffing, and weather before drawing conclusions from a small sample.
Revisit the service area when the operating reality changes, such as a technician leaving or a new crew taking over a route. Keep a date and an owner for each review. If qualified calls fall, check coverage, service availability and the website path before attributing the shift to a single profile setting. Use the public audit as a starting point for reviewing visible details and bring profile settings and dispatch records to the follow-up review.
Check what customers see after the change
Google says approved service area edits can take up to 48 hours to appear. Once the edit is visible, open the public listing in Search or Maps. Check the service area, website link and phone number. If a private address still appears on your own website or another directory, review that listing separately.
On a phone, follow the website link as a customer would. Make sure you can find the services offered, the areas covered and a clear next step. A quote form can ask for the ZIP code and service needed before requesting a street address. Give your team a short response for inquiries outside the coverage area.
Treat coverage and search visibility as separate checks
A service area tells customers where you work. Google also considers relevance, distance and prominence for local results, so adding a city does not guarantee visibility there. Track useful calls or inquiries by area over time and check whether callers are asking for work your team can take.
The free Local Growth Audit can help review available public business details and website readiness. Use the Business Profile manager to verify private settings, approve edits and check pending changes.
Good to know
- Review the profile and website together after changes are visible.
- Choose places your team can reliably cover.
- Keep a dated record of the change and check it against the public listing.
Common questions
Questions people ask
Can I hide my home address on Google Maps?
Yes, if you run an eligible service-area business and do not serve customers at that address. Use the business location setting to hide it and list the places you serve.
Can I set a mileage radius?
Google uses cities, postal codes and other named areas for current service-area settings. Pick the places your team can actually serve.
Should I create a profile for every city I serve?
A single business base can list multiple service areas on its existing profile. Consult Google’s eligibility rules before adding a separate operating location.